Who says you can only cook indoors?
A modern outdoor kitchen can make your cooking experience more exciting, especially if you’re someone who’s often hosting parties in your backyard.
So, instead of [only] installing a grill, you can build a whole outdoor kitchen  and spend quality time cooking with your family and friends when it’s pleasant outside.
In this article, I will help you plan your outdoor kitchen. I will also compare modular and DIY kitchens, so you can quickly determine what’s best for you.
So, without further ado, let’s dive right in.
6 Things to Consider Before Building Your Outdoor Kitchen
You can step up your outdoor cooking game by setting up a modern kitchen and enjoy grilling out with your loved ones on weekends.
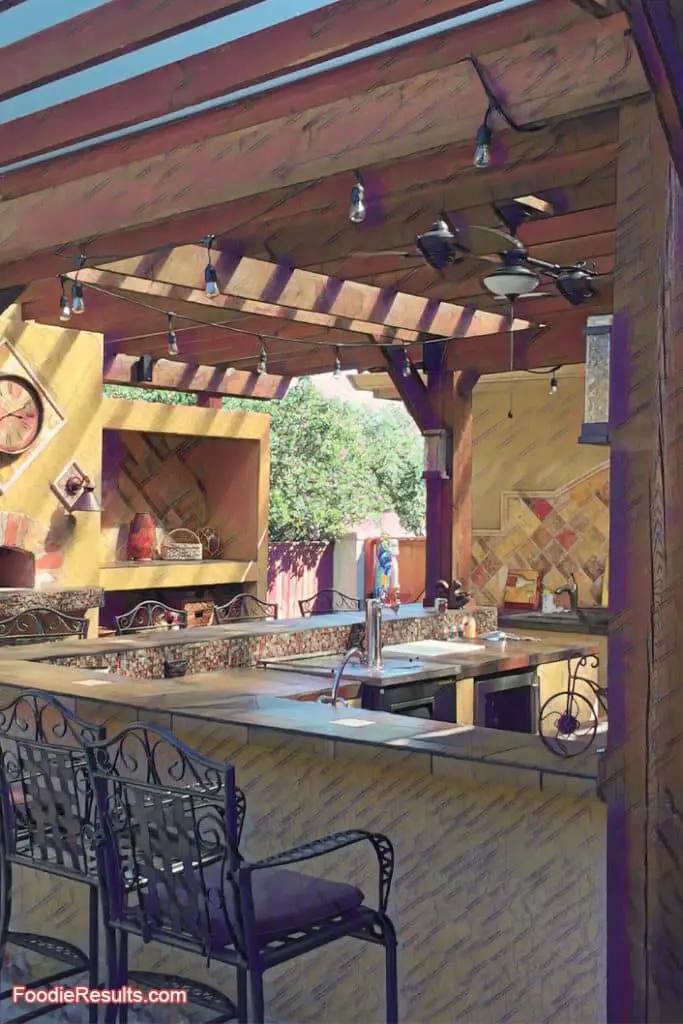
However, before turning your backyard into chef heaven, you should consider multiple key factors like your budget, location, configuration, kitchen zones, and whether you can handle a DIY project or prefer a modular pre-built kitchen with instructions.
Here’s a short breakdown of each factor, so you can better understand what you want in a new kitchen; so let’s jump right in.
What’s Your Budget?
Your budget is the first thing you should consider before building a new outdoor kitchen. How much can you spend on the parts for your outdoor kitchen?
Additionally, consider extra costs for running utilities, plumbing, permits, and labor.
If you want a larger outdoor kitchen, it’s better to have a dedicated electrical circuit with required GFCI (ground fault circuit interrupter) outlets.
Whether you prefer a simple grill with a couple of extra amenities or a full-blown kitchen, you must plan everything.
Extra tip: Ask your local authorities or your homeowner association whether you need a permit for building your new kitchen, especially if you’re installing plumbing, electrical, or gas lines.
Lastly, hire a licensed contractor to connect your electrical, gas, water, or propane work.
Choose the Location for Your Kitchen Wisely
The size of your kitchen will mostly depend on the location you choose.
I suggest you plan your outdoor kitchen along a wall of the house or on your patio. That way, you can quickly and easily access your home whenever necessary.
Additionally, I recommend placing your cooking surfaces about ten feet away from your home in case of a fire.
If your outdoor kitchen is closer to your house, you can connect your plumping and fuel lines more easily.
However, placing your outdoor kitchen away from home has some advantages, such as exploring different configurations and building a stand-alone setting that looks and feels more intimate.
The only downside of this placement is that connecting your existing electrical, fuel, and plumbing will take more time and effort and more money.
Lastly, you should consider building a structure to protect your kitchen appliances.
Create a Blueprint for Your Desired Kitchen Design
Once you find the perfect location for your kitchen, you should measure the whole area. That way, you will know how much space you have at your disposal.
The available space will help you select the suitable configuration and arrange your kitchen zones. Additionally, consider the amenities and seating you prefer for your kitchen when planning your area.
Overall, the space dimensions will lead your path, so plan carefully. I suggest creating a blueprint  of your preferred kitchen design to visualize your kitchen better.
Consider the Layout of Your Outdoor Kitchen
Once you have your design blueprint, it’s time to determine your new kitchen’s layout.
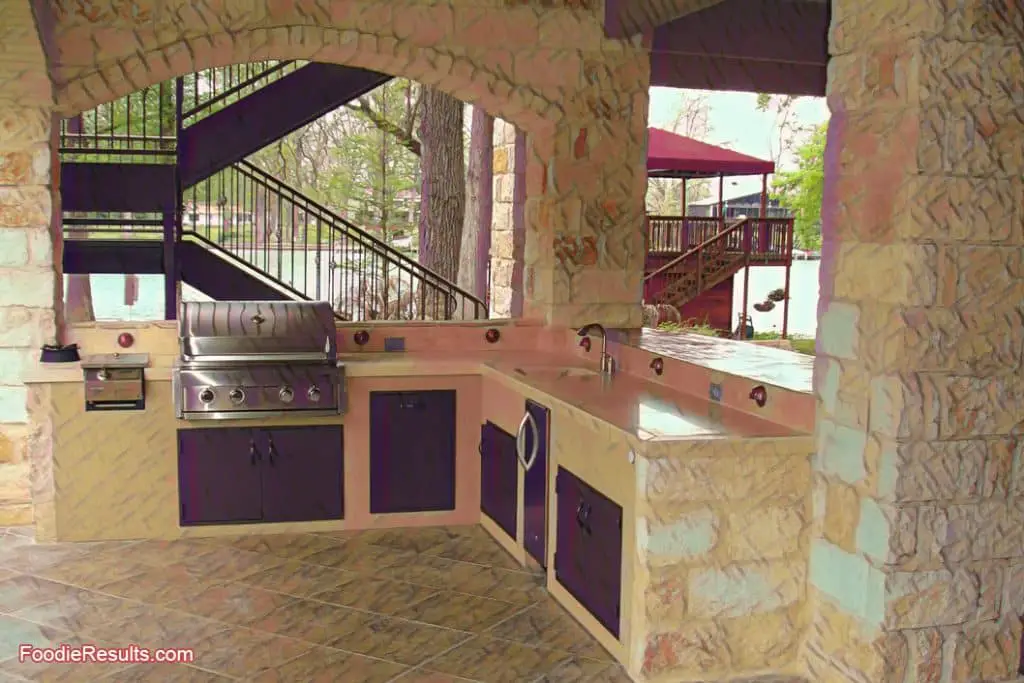
The configuration of your outdoor kitchen depends on your budget, available space, and design preferences.
Here’s a breakdown of standard kitchen configurations.
L-Shaped Kitchen
If you have a small or medium outdoor area, the l-shape design makes a perfect choice for you. The best part? L-shaped kitchens fit perfectly in corners, hence taking up much less space.
Linear Kitchen
You should consider a linear kitchen if you have a small space and a limited budget.
This layout usually runs along the side of the house and includes counter areas on each side of the grill.
If you can’t place your outdoor kitchen along the side of your home for whatever reason, don’t worry. A linear kitchen can also be freestanding.
Galley Kitchen
The galley layout means arranging kitchen cabinets and appliances against each other along a rectangular line split by a central walkway.
U-Shaped Kitchen
If you prefer a freestanding kitchen, the u-shaped layout makes a perfect choice for you, as it’s versatile. If you choose this modern layout, you should arrange your cabinets and appliances in a U shape.
If you have ample outdoor space and prefer a large kitchen with extra countertop space for preparing your foods and beverages, consider installing a u-shaped kitchen.
Don’t Forget the Kitchen Zones
Your outdoor kitchen should look great and function properly and efficiently.
Like indoor kitchens, outdoor layouts with multiple work areas makes a better choice, as they ensure a more natural flow of work.
Therefore, I suggest planning a kitchen with enough work areas or zones for a smoother cooking experience.
You’re lucky if you’re considering a modular outdoor kitchen, as you can mix and match most modular outdoor kitchen components, try different layouts and make your pick.
Let’s discuss different work areas or zones your outdoor kitchen should have.
Prep Zone
The best part? With enough prep space, cooking meals won’t feel stressful. If you have a more prominent prep space, you can ask family members or friends to help you with the cooking process, which never hurts.
You can get away with a smaller prep space if your outdoor kitchen is near your indoor kitchen. You should also install a small sink for easier cleanup.
With a small sink nearby, you can save time on cleaning and cross-contamination when preparing raw food.
Other handy tools you should consider having in your prep zone include cutting boards, grilling and cooking tools, roasting racks, paper towels, a small trash bin, etc.
Also, avoid storing raw meats in the same fridge as your other food and beverages. Instead, install two fridges or keep the raw meat in your indoor fridge. Lastly, consider installing a compact fridge for beverages.
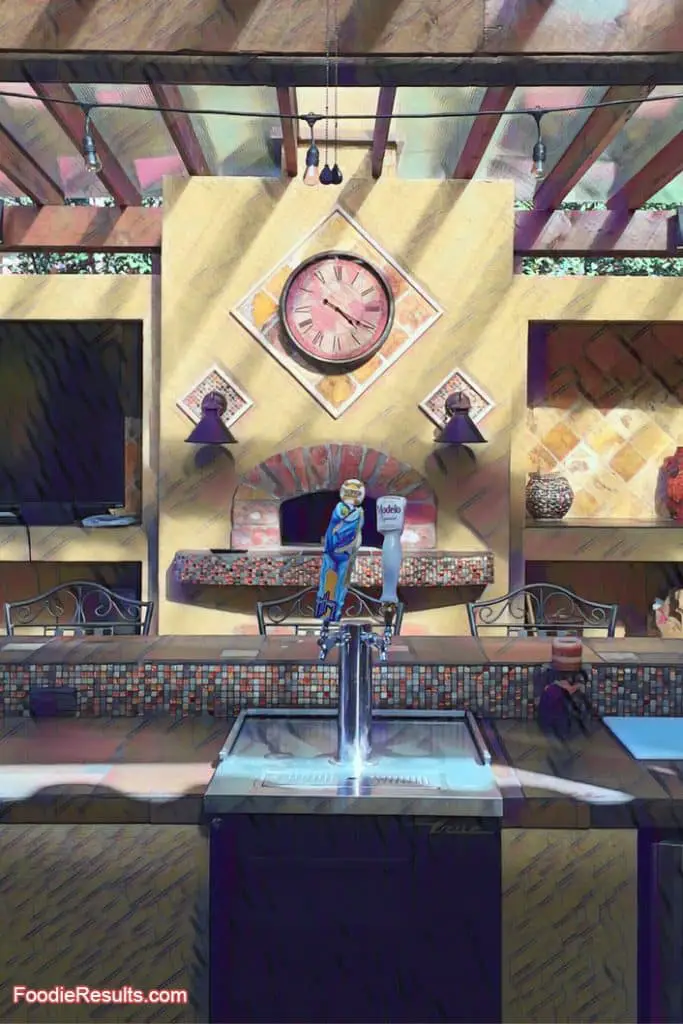
Cooking Zone
The cooking zone consists of the pizza oven, warming trays, smoker, grill, cooktop, side burners, etc.
Your cooking area should look good and function properly, as it’s the visual centerpiece of your outdoor kitchen. And it’s also where the magic happens.
Consider equipping your cooking zone with a gas grill because it’s a popular choice for outdoor kitchens.
Additionally, consider ventilation in your cooking area. Your outdoor kitchen should have proper ventilation and smoke release.
Lastly, your cooking space should also contain all the tools for grilling and cooking, such as spatulas, a burger press, tongs, a meat thermometer, etc.
WARNING: Ensure proper ventilation if your cooking zone is near your home.
Also, place your grill and other cooking equipment about ten feet away from combusting materials, such as tree branches, deck rails, wood sliding, bushes, etc.
Serving Zone
Make sure your serving zone has ample counter space and enough elbow room.
The plating and serving room is often near the grill, so you can easily place ready food. The food that doesn’t get eaten immediately can stay in warming drawers until it’s ready for serving.
The plating and serving zone also makes an excellent place for storing condiments, napkins, garnishes, paper towels, utensils, and maybe a small trash can.
DIY or Modular Outdoor Kitchen?
When planning your outdoor kitchen, you have two options. You can build your outdoor kitchen yourself. Or you can order a prebuilt outdoor kitchen.
Let’s discuss DIY and prebuilt kitchens and determine which project suits your needs.
DIY Outdoor Kitchen
You can build a kitchen yourself if you’re a handy person with extensive DIY knowledge and experience.
You should frame the kitchen, install cladding, and add a work surface or countertop.
Also, you should install your kitchen appliances and fixtures and connect each with gas, power, drain lines, and water lines.
The advantage of building a DIY outdoor kitchen is creating something that meets your needs and fits your space exactly. Also, you can customize your outdoor kitchen’s look, size, and shape.
However, it’s time-consuming and overwhelming; this project can take several days.
Modular Outdoor Kitchen
Assembling a modular outdoor kitchen requires less time and effort. However, since it’s prebuilt, you can’t experiment with your modular kitchen’s look, size, and shape.
What’s positive about prebuilt kitchens is that they come with instructions. Also, you can complete a modular kitchen within 48 hours with basic DIY skills and a basic tool kit.
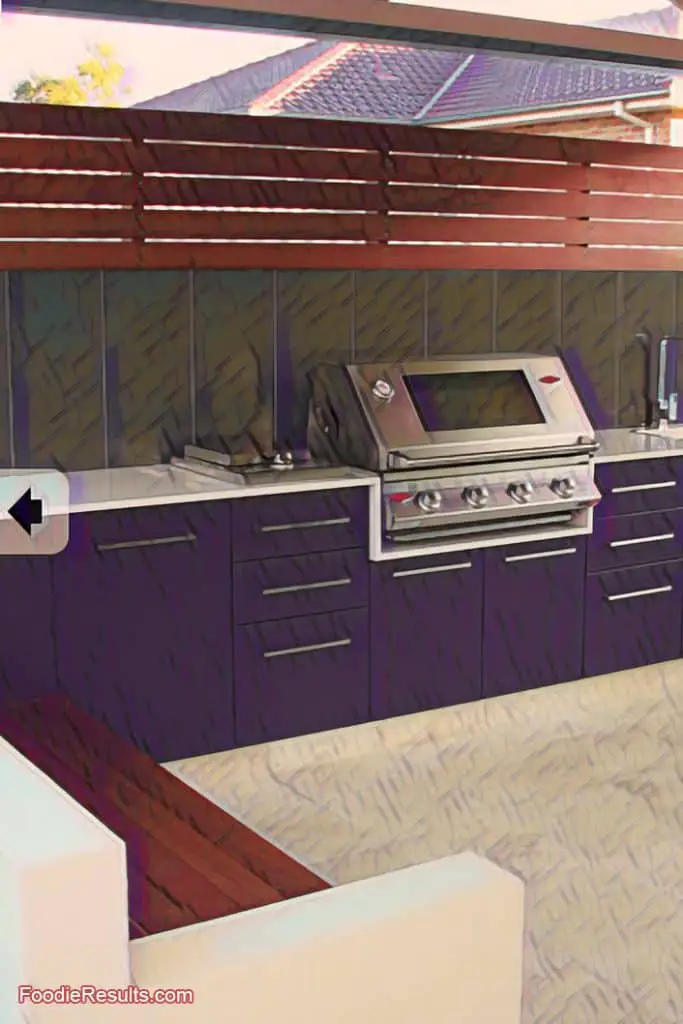
If you order a modular outdoor kitchen, you will get parts made to fit together easily, but remember that these components can be heavy, so make sure you have a helper when your modular kitchen arrives.
Additionally, modular kitchens provide expansion options and quick disassembly, so you can take everything with you if you change your place of residence in the future.
However, remember that modular kitchen parts often come with anchoring systems. So, you will probably need a concrete wall or floor for proper installation.
Building a DIY Outdoor Kitchen: Step-by-Step Guide
Every DIY kitchen requires different tools. However, you will still need basic tools, such as the following:
- Tape measure
- Long level
- Circular saw or miter saw and blades
- Drill/driver and bits
- Saw horses
- Square
- Caulk gun
- Safety gear, including work gloves, hearing protection, goggles, and a respirator
- Exterior-rated plywood
- Mortar
- Pressure-treated boards
- Deck screws
- Construction glue
- Outdoor-rated countertops
- Outdoor-rated tile or stone veneer for decorative cladding
Additionally, if you’re tiling your kitchen, you will need grout and tile tools. Overall, your tools and materials will differ depending on your kitchen design.
Extra tip: Most people build the frame for their outdoor kitchen out of pressure-treated 2×4 inches boards put together with deck screws; however, you can use cedar wood or concrete block can also make a solid frame.
Step 1: Plan the Size of Your Frame
First, consider the dimensions of your frame.
Usually, people create three-foot-tall counters. When determining the size, consider the thickness of your countertop and the height of the glides or feet.
You can easily determine the depth of your countertop by factoring in the dimensions of the counter space you want, the kitchen appliances you plan to install, and the depth of your future kitchen sink.
Usually, countertops have a depth of 24-25-1/2 inches.
Step 2: Create the Frame Components
Instead of creating the frame at once, I suggest making small frame segments you can connect.
That way, you won’t get overwhelmed by the whole process. Additionally, multiple parts will provide the best support for your work surface or countertop.
Therefore, cut the 2×4 inches boards to size. Also, cut spacers from the board to install between the front and back of your structure boxes for extra support.
Step 3: Put Together the Frame Parts
Fasten the frame pieces with deck screws. Then, attach the furniture glides to keep the kitchen structure off the ground.
As you go along, I suggest you properly align, square, and level the components for the best results. Otherwise, you will end up with a clumsy frame.
Step 4: Finish the Frame for Your Kitchen
Cover the front and sides of the frame with pre-measured and pre-cut pressure-treated plywood. Use deck screws and construction glue to attach the plywood properly.
Moreover, leave open spaces for kitchen cabinets, a trash can, a small fridge, etc.
Assemble and install plywood squares in the kitchen structure if you’re building kitchen cabinets into the design.
Step 5: Finishing Touches
Cover or clad the structure with high-quality outdoor-rated material. Also, you must dry-fit kitchen appliances you will be adding to ensure the cladding will fit around their shape correctly.
The cladding requires special tools, such as a ledger board to support brick veneer, tile, and stone. You will also need a felt, mortar, and wire lath for a brick veneer.
Leave clearance for the kitchen cabinet doors and follow the manufacturer’s instructions when installing the cladding.
Step 6: Install a Countertop
Once you’re done with cladding, you can install the countertop.
Countertops usually come with instructions, so follow the manufacturer’s instructions for proper installation.
Finally, install the kitchen cabinet doors, fixtures, and kitchen appliances.
Assembling a Modular Kitchen in 6 Easy Steps
The tools, materials, and installation will differ by parts and configurations. So, I suggest following the installation steps that come with your modules.
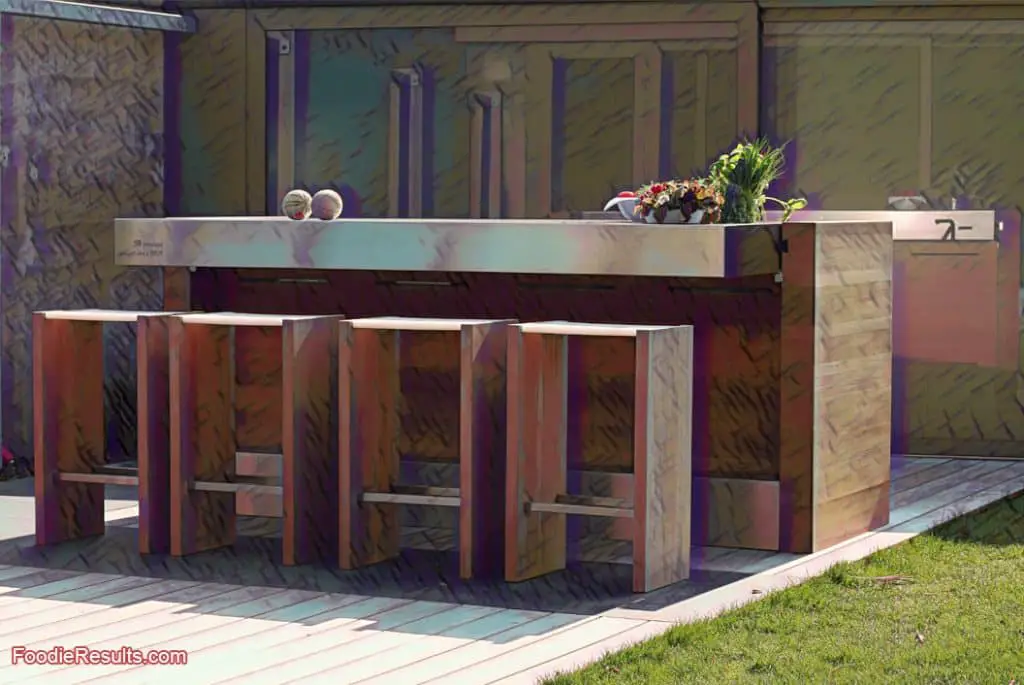
However, most modular kitchens share many things in common, so here’s a list of basic tools you should have for building your new modular kitchen:
- Tape measure
- Drill/driver and bits
- Assorted wrenches
- Screwdrivers
- Square
- Ratchet and socket set
- Level
- Clamps
- Screws
- Washers
- Nuts and bolts
- Concrete anchors
Sometimes, kitchen kits include some of the tools above, so inform yourself of the ones that come with your building kit.
Extra tip: Your kitchen appliances will need proper airflow. So, ensure there’s enough clearance around and above the kitchen appliances.
Step 1: Get Ready for Delivery
Clear out your space for the delivery of your modular kitchen. I also suggest obtaining a furniture dolly at hand, so you can quickly move the pieces to the assembly site.
Additionally, I recommend assembling everything on the site where you plan to build the modular kitchen.
However, you should also prepare the kitchen area.
Clear anything that might get in your way when moving and assembling the pieces, and ensure you have enough space to lay out the components and work.
Step 2: Check the Components Upon Arrival
Unpack the pieces and check everything upon arrival. Make sure you got all the parts you ordered and check for damages.
Step 3: Assemble the Kitchen Components
Start by assembling the kitchen cabinets as instructed and ensure they’re level. To add extra pieces, clamp the kitchen cabinet parts together temporarily and use a screwdriver or wrench for the attachment process.
Additionally, depending on your modular kitchen, you should drill plot holes and provide bracing for the parts.
Step 4: Install the Countertop
Using screws or bolts, install the countertop as instructed, then attach the shelves at the preferred height.
When you get to the kitchen drawers and doors, ensure they have proper clearance and operate smoothly.
Finally, install the handles for your drawers and doors. If your modular kitchen package didn’t include these parts, don’t worry; you can purchase handles online for cheap.
Step 5: Install the Anchors
Your modular kitchen probably includes anti-tip brackets or anchors. You should attach these pieces to the wall or floor.
Then, secure the kitchen cabinets to the anchors. However, don’t completely tighten the anchors until you’re sure they’re installed properly.
Step 6: Final Touches
If your modular kitchen includes decorative panels, complete your installation by adding these panels.
Cut the panels to size and make cutouts for inserts, such as appliances, sinks, etc.
Lastly, pop out the cabinets for fixtures and kitchen appliances that require water, drain, gas, or power lines to enable connection to the fridge, sink, grill, etc.
If the cabinets already have openings, you should only install protective gaskets.
Conclusion
Installing your outdoor kitchen doesn’t require special skills.
However, call a professional if you need help with portions of your project. You will likely need help installing electrical, plumbing, and gas lines.
So, don’t risk ruining your project; ask for help when things get heavy and confusing.
Feature Image

Recipes – Foodie Results
Articles – Foodie Results
Recent Articles
Casseroles are the original comfort food. Discover a new favorite from this selection of some of the best casserole recipes your family needs to try. From breakfast bakes to delicious dinners,...
There are many delicious recipes that you can make with your Holiday leftovers! Here are some ideas from popular food websites: Food Network has a collection of 61 Best Thanksgiving Leftover...

